Thursday, May 21, 2009

Reborn

The bustier that is!

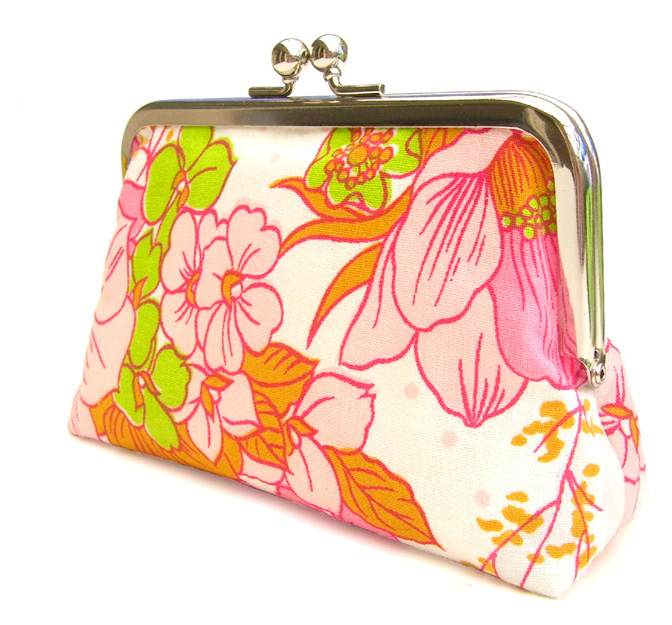
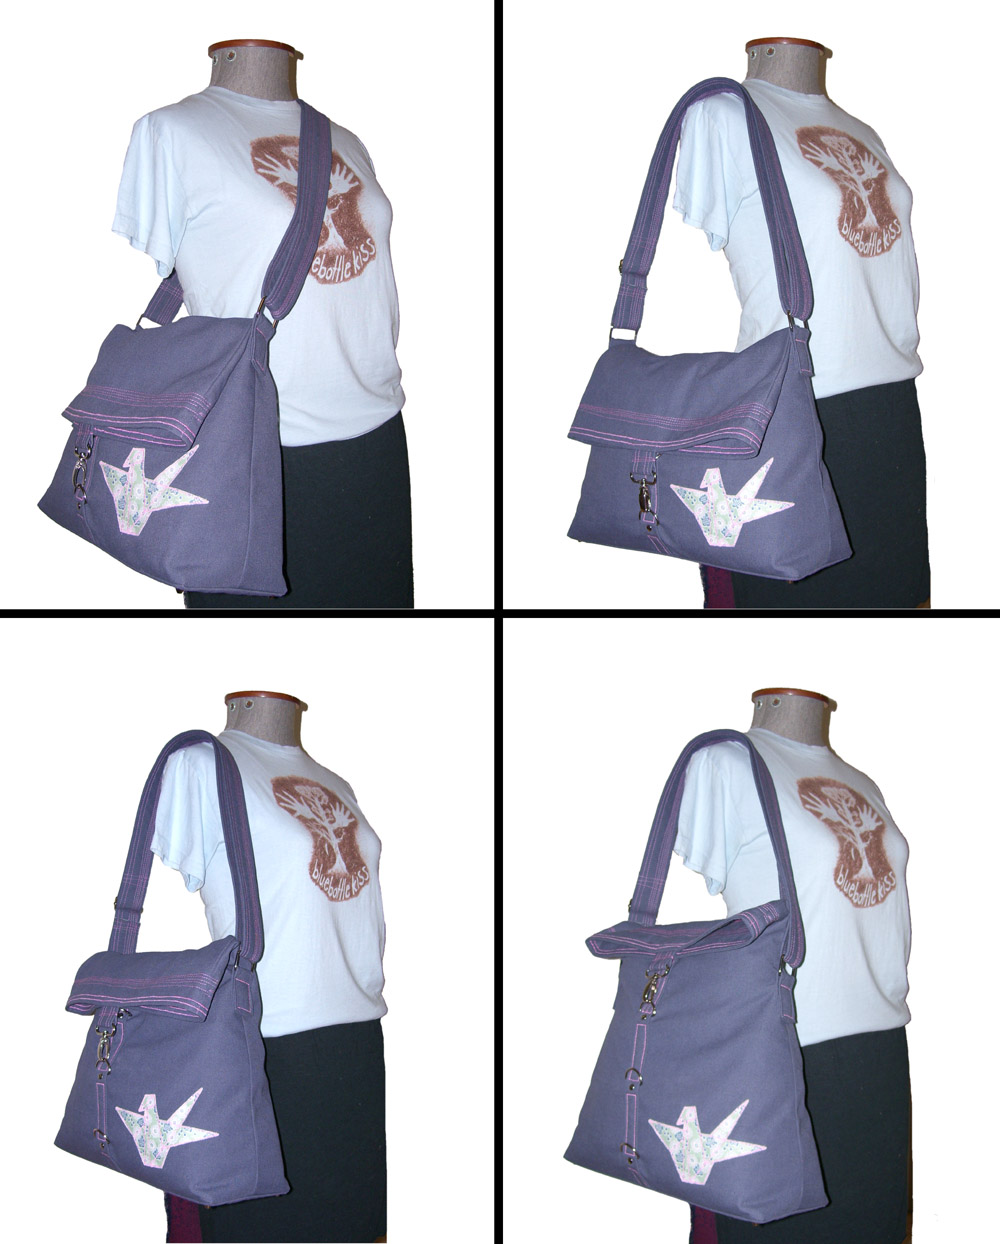
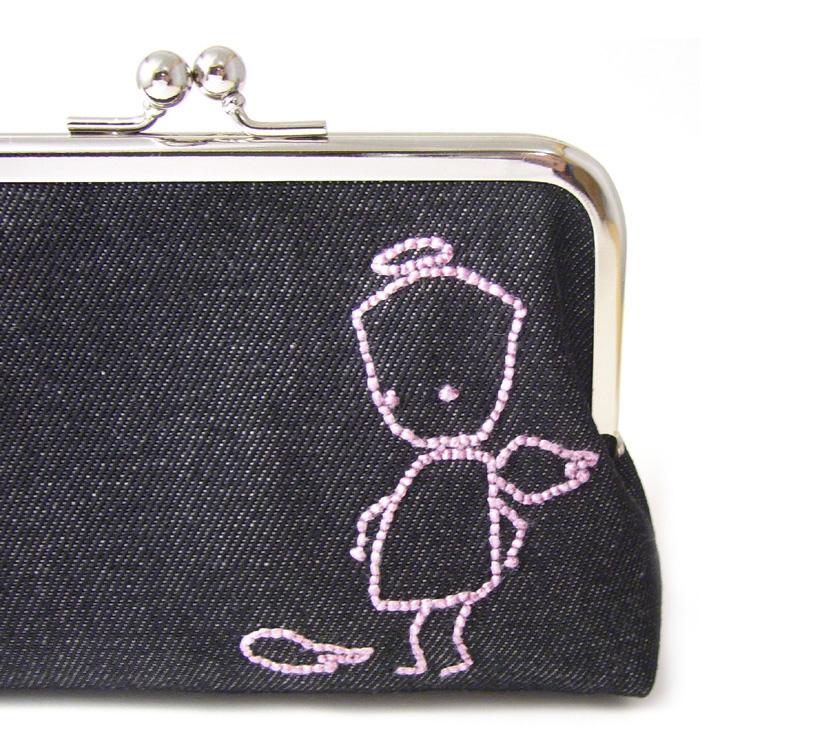
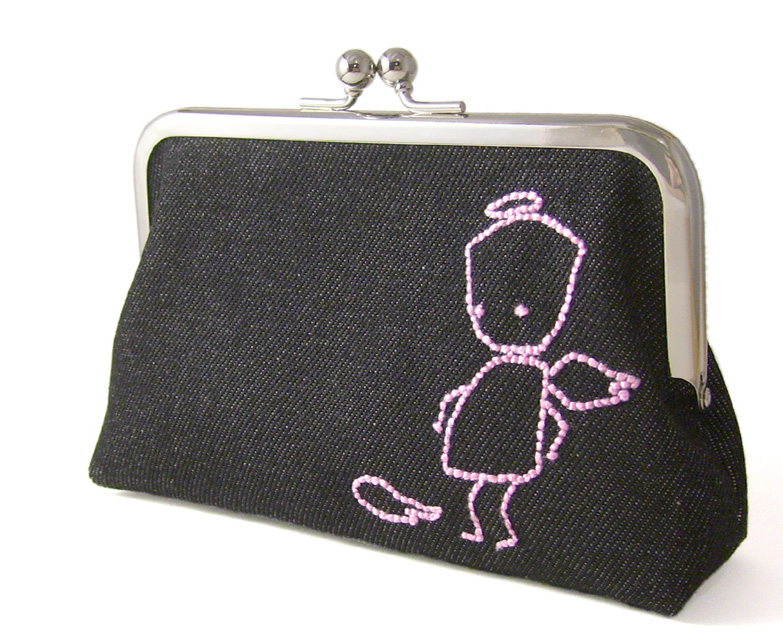
I've spent the past two days working on a purse that I've had the image of in my head for a month or so. It all started with a pink bustier that I bought at an op shop years ago. The boning was all warped and it was too small for me, but I kept it anyway - thinking it would be useful for something, sometime...

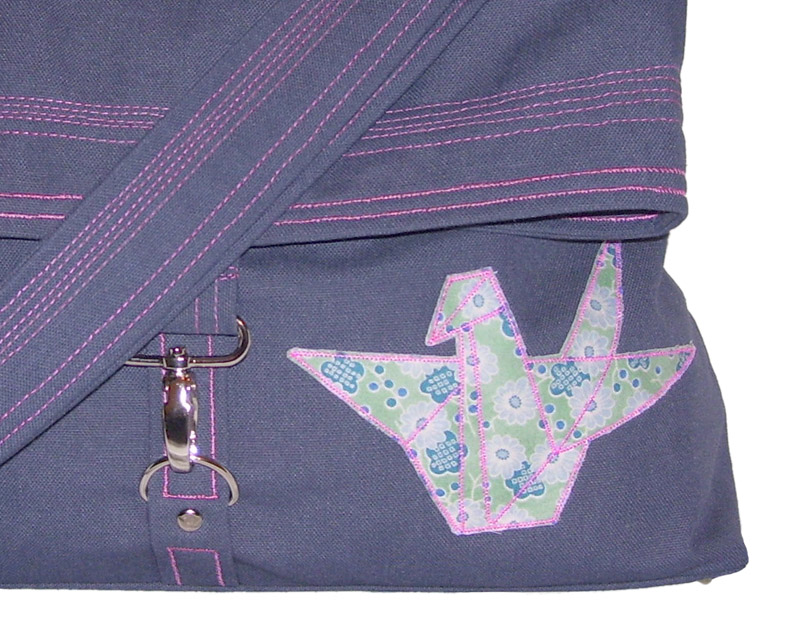
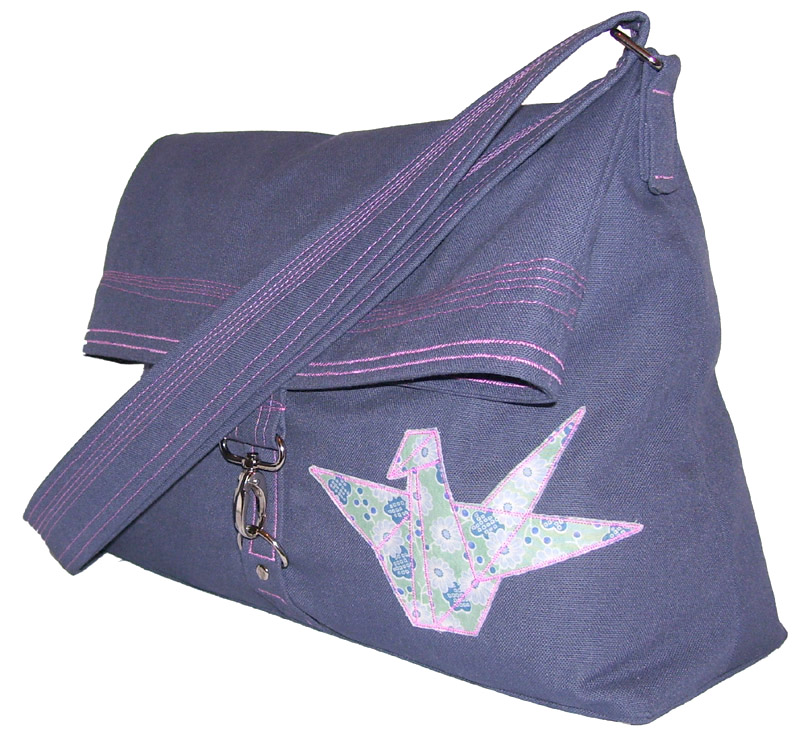
Images from the vintage issue of Dujour magazine have also been in my head for awhile and the two kind of meshed together and the bustier turned itself into a purse!

It literally has been two days of cutting, sewing, unpicking, sewing, putting in a frame, sewing, unpicking, sewing and more sewing. I should learn to plan better, but like the origami bag, this purse kind of took on a life of its own once I started. I thought I was finished last night, then decided that it needed some beads, so spent most of today sewing 99 of those on. Like adding a zipper to a completed bag, adding beads to a completed purse is not easy and not recommended!

Anyway, the end result is a very pretty, romantic, one of a kind purse that I really love!

Vintage du jour purse

Vintage du jour purse

I hope someone else loves it too! If you do, it is available to purchase in my etsy store!

Saturday, May 16, 2009

Featured

My spring fling purse has been featured in a blog! Thank you Amy!

I don't think I posted the purse on here, so here it is:

Spring Fling purse

And it is still available to purchase here.

Thursday, May 14, 2009

Improvements

Over the past few months, my studio started to become more and more cluttered. Even when I cleaned it up, it was still cluttered and it was starting to really annoy me, so something needed to be done! The biggest problem was that the only place for the ironing board was in front of the wardrobe, which meant getting to the wardrobe was virtually impossible, which meant I didn't use it, so stuff ended up everywhere.

My mum rearranges her furniture about once a week (ok, maybe slight exaggeration, but every time I go there, something is different), so I figured that while she was here, it was the perfect opportunity to get some ideas on how to fix the studio up.

A quick consultation with her and the solution was found. A few hours of cleaning up and rearranging and I have a tidy, organised and rather spacious studio again!

So here is the finished result (minus some decorations I plan to add one day soon):


Wednesday, May 13, 2009

This is important

(3 in one day!)

I meant to post this days ago. It's really important that people read Nikki's post about Intellectual Property.

Origami

Two posts in one day - see, told you I am back now!

I got this picture in my head about two weeks ago, of a very simple fold over bag... I thought it would be something quick and easy to make - perfect for my current busy situation. So I sketched out a few ideas and still thought it was fairly simple. Then I started making it and it very quickly got complicated - rivets, d-rings, purse feet, machine applique etc etc. Not so simple anymore. Then I decided to use some upcycled curtain fabric. It is gorgeous blue/grey rubber backed canvas. And it is very hard to sew! More than two layers was killer when it came to putting in pins, so this further complicated things.

I muddled through for a few days and thought I was almost finished, but wasn't at all happy with it, so I added rows and rows of uneven top stitching, moved the rivets and did a few other bits and pieces and suddenly it worked! Suddenly, a bag I was considering abandoning, came together just the way it was supposed to!

The Origami Bag

I finished it and listed it in my etsy shop. Then my mum arrived and I asked her to pick out some fabric for the shipshape bag I was going to make her for Mother's Day. She didn't love any of my fabric (?!), but she did love the new Origami bag, so now it is hers. I'll make more for the shop - but probably not with that same fabric!

The Origami Bag

What may not be obvious from the first photos is that the bag expands via the 3 different adjustments that can be made with d-rings attached to the front. It can hold a tonne if you do it up on the last setting, or is perfectly sized for your wallet, glasses, phone and a drink bottle if you're on the first setting.

The Origami Bag

A day or two after mum started using it, I decided it needed a zipper for quick access to your purse/keys/phone etc. So I added one - just near the top, on the back side of the bag. I don't recommend adding a zipper to a bag that is already complete - crazy difficult! But done! Future bags will have the zipper added before they are finished. I forgot to get a photo of it, but I'll show you on the next one.

Oh dear!

I have been a bad bad blogger. Sorry guys! Am back now though.

What's been happening? Lots of work. Then my mum visited for a week, so very little work. Now, much catching up to be done!

But one thing I haven't shown off on my blog is one of my new purses...

My friend Katrina has the cutest drawing tattooed on her arm and I've loved it since I saw it. I decided a few weeks ago that it would be perfect for an adorn purse. Luckily for me, Katrina's parents taught her to share and the image arrived in my inbox shortly after begging for it.

So here it is - up close:

Adorn Purse - Oh Dear!

In all its glory:

Adorn Purse - Oh Dear!

It is coming in more colours soon, but if you love this cute pink one, it is available here.