One of the most common problems I have is not having the right sized/colour zipper for the job. It doesn't seem to matter how many I have, I'm always missing the one I need! Sometimes you can get away with just cutting the end of the zip off. But sometimes, you need the metal stops on the ends, and you need to be able to fold that little bit of zipper tape on the end over to get a neat finish - like on the top of zippered coin pouches etc. So having the right length zip can be crucial.
I need to make some teeny tiny zippered pouches at the moment and don't have the right length zips, so I spent a little time today working out how to shorten them and it's really easy once you know the tricks.
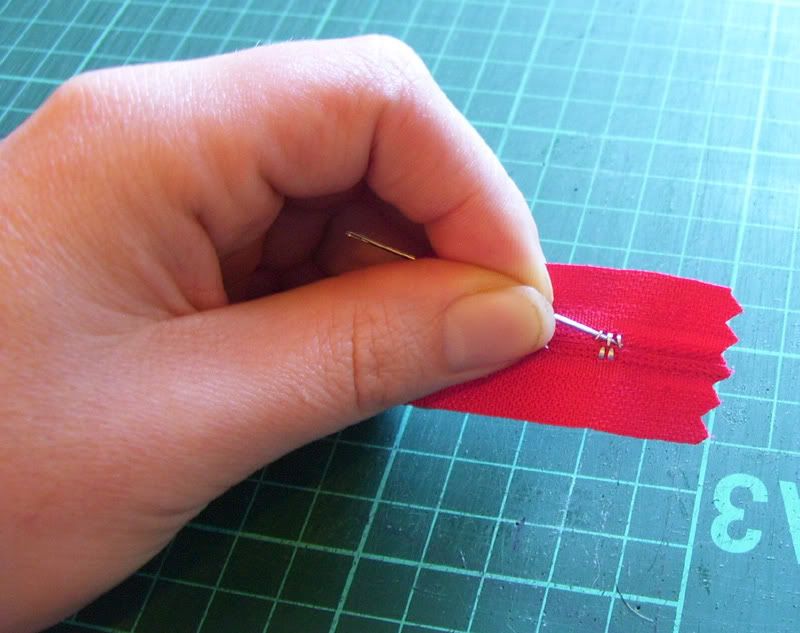
First get a large needle, or something sharp and pointy, and lift up the prongs on the back of the big metal stop at the end of the zip. Once they're up a bit, you can finish straightening them with your needle nosed pliers and then pull it off. Don't lose it!
Then just measure and mark your zipper at the required length. For me this time it is 10cm.

Take the metal stop that you just took off, and put it back on where you just made the mark. A gentle tap with a hammer works a treat for flattening the prongs.

Then cut the excess zipper off, leaving about 1.5cm between the stop and where you cut. Treat the end of the zipper tape with some fray stop, or cut with pinking shears or whatever you like to stop it fraying.

Then separate the excess zipper.

What you need to do next is remove the nylon coil. It is threaded through the zipper tape, so it is not just a matter of pulling the end and it unraveling. It won't go further than a few coils this way, and gets really messy.
So take your trusty unpicker and push it through the middle of the first few coils and cut them. Keep doing this until you get to the metal stop.

Then grab your needle nosed pliers or some tweezers and pull the little bits of cut coil out. Repeat on the other side. You may need to snip the end off the very last one on each side to keep it neat and not spikey.

And voila - you're finished! And have a nice neat** zipper end and a zipper just the length you needed!

**This one is not as neat as my first one, but those end bits will be folded over and sewn under fabric so it is ok!


