Showing posts with label new work. Show all posts

Tuesday, October 13, 2009

New adventures and other little things

So firstly, the Mountain Makers exhibition was awesome! Lots of sales, met lots of people, had lots of fun! Can't wait to do it again (when we can talk Tess into organising another one). You can see lots of photos of how pretty it was if you go and look at Mandy's flickr set.

It was so much fun that I decided to do one of the local markets. So my first market all by myself with no hand holding was this past Saturday at the Ivy Market in Springwood. I'm pretty happy with my first one. Lessons learned, things sold, lots of smiling faces. I'm especially happy with my display:

Plus 1 Design @ The Ivy Market (Springwood)

I'm still working out whether I can go back to do the next one, but the chances are pretty high at this stage.

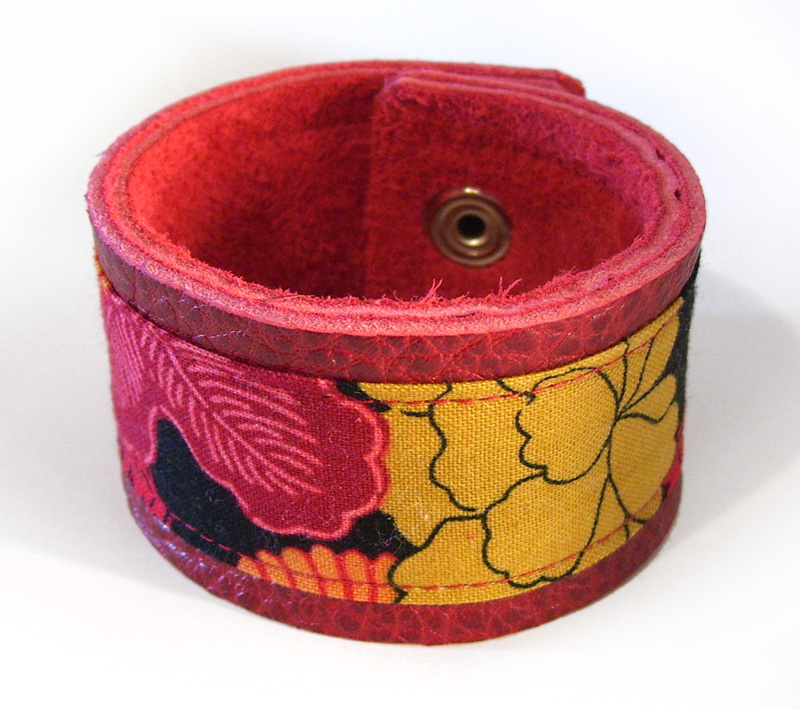
At the market I debuted a new product which I'm really excited about! I've wanted to make wrist cuffs for ages, but it has taken me awhile to settle on a style and design. Finally it is done! Here is a sneak peek:

Wrist cuff

Wrist cuff

I'll be listing them in my Etsy shop in the next few days. Just got to get a chance to finish photographing them... I'm juggling too many things at once at the moment.

Wednesday, May 13, 2009

Origami

Two posts in one day - see, told you I am back now!

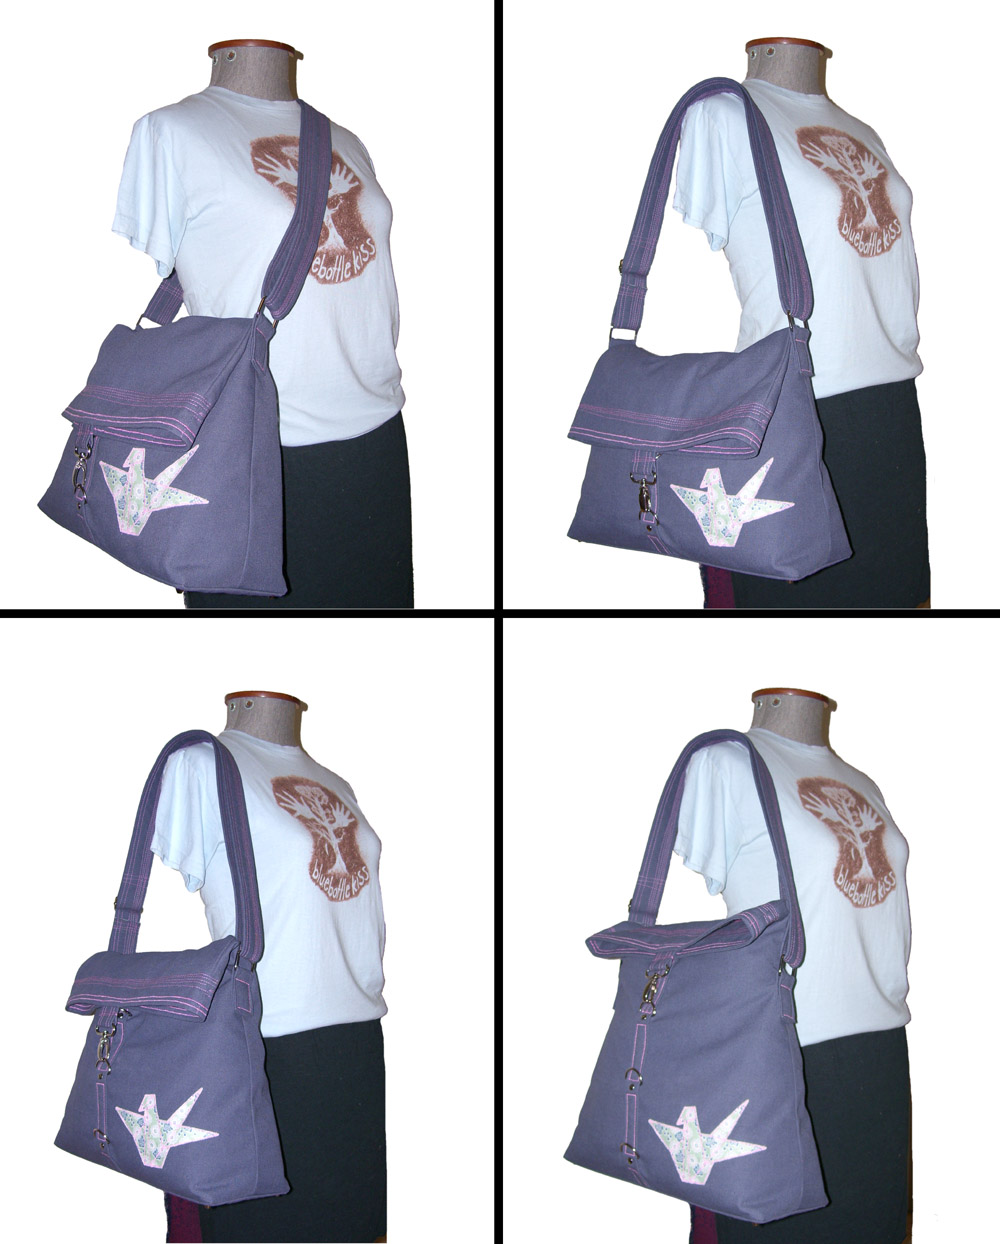
I got this picture in my head about two weeks ago, of a very simple fold over bag... I thought it would be something quick and easy to make - perfect for my current busy situation. So I sketched out a few ideas and still thought it was fairly simple. Then I started making it and it very quickly got complicated - rivets, d-rings, purse feet, machine applique etc etc. Not so simple anymore. Then I decided to use some upcycled curtain fabric. It is gorgeous blue/grey rubber backed canvas. And it is very hard to sew! More than two layers was killer when it came to putting in pins, so this further complicated things.

I muddled through for a few days and thought I was almost finished, but wasn't at all happy with it, so I added rows and rows of uneven top stitching, moved the rivets and did a few other bits and pieces and suddenly it worked! Suddenly, a bag I was considering abandoning, came together just the way it was supposed to!
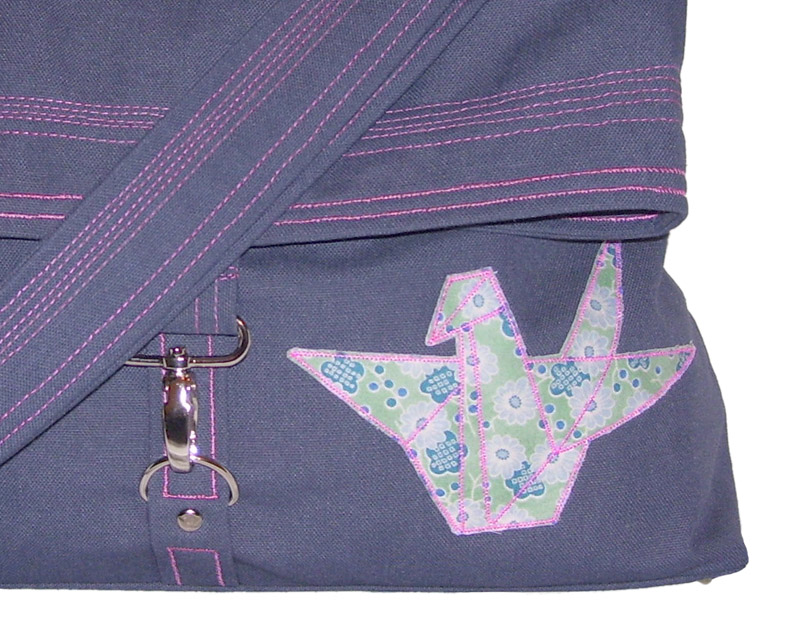
The Origami Bag

I finished it and listed it in my etsy shop. Then my mum arrived and I asked her to pick out some fabric for the shipshape bag I was going to make her for Mother's Day. She didn't love any of my fabric (?!), but she did love the new Origami bag, so now it is hers. I'll make more for the shop - but probably not with that same fabric!
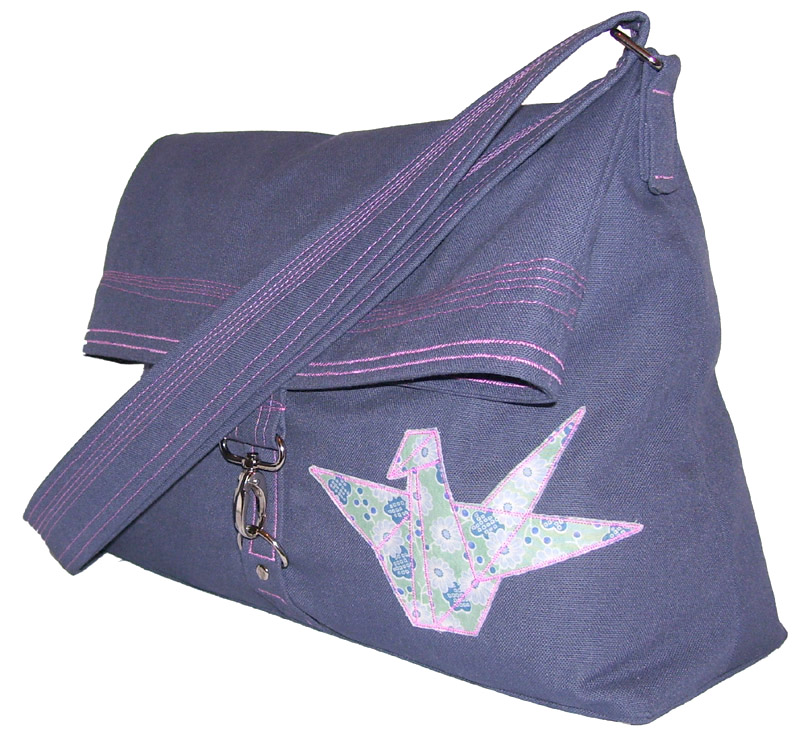
The Origami Bag

What may not be obvious from the first photos is that the bag expands via the 3 different adjustments that can be made with d-rings attached to the front. It can hold a tonne if you do it up on the last setting, or is perfectly sized for your wallet, glasses, phone and a drink bottle if you're on the first setting.
The Origami Bag

A day or two after mum started using it, I decided it needed a zipper for quick access to your purse/keys/phone etc. So I added one - just near the top, on the back side of the bag. I don't recommend adding a zipper to a bag that is already complete - crazy difficult! But done! Future bags will have the zipper added before they are finished. I forgot to get a photo of it, but I'll show you on the next one.
Sunday, March 29, 2009

InReverse!

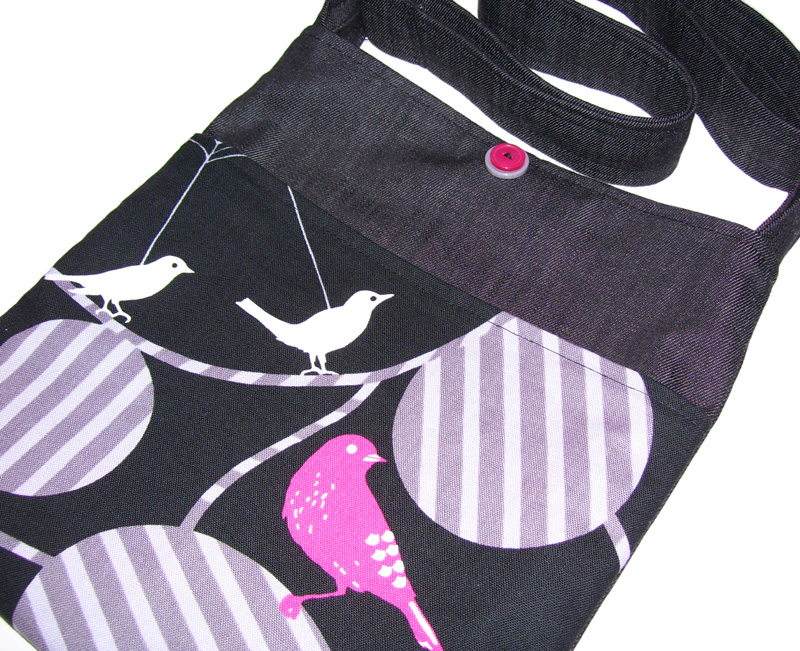
A few weeks ago, I mentioned some new bag designs were on their way, including one ohhh so simple bag. Yesterday I started work on them and the first one is complete and ready to go to its new home!


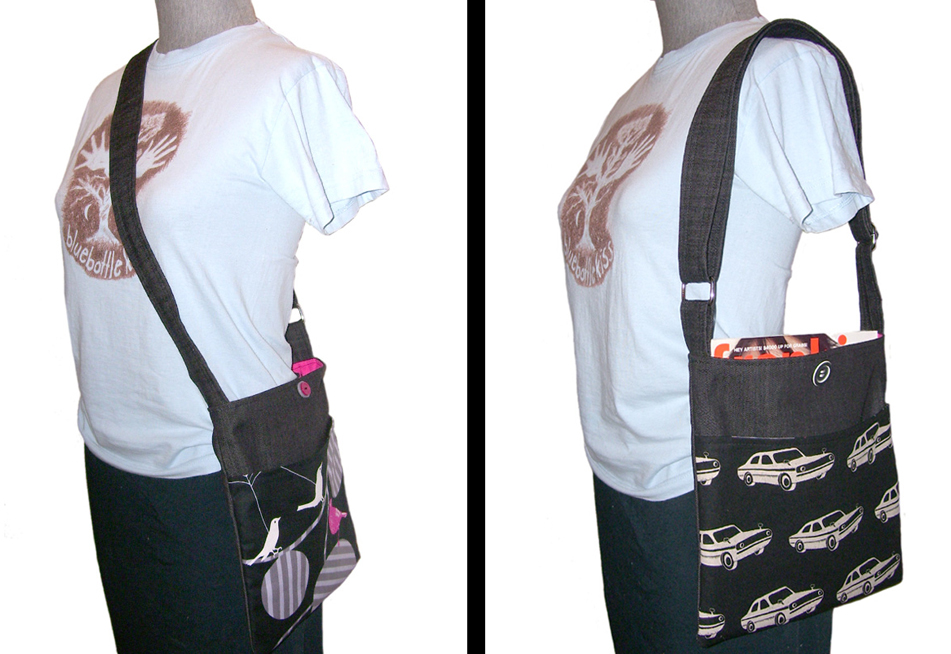
It is the InReverse bag! And since I'm a bit sleepy (lazy?) on this Sunday, I'll just copy and paste from the description I already wrote: It's a cute little bag with one outer pocket that features two different prints. Unlike most reversible bags, you're not turning the whole bag inside out, just the pocket. Turn the pocket to one side and you are showing off one print. Turn it in the other way and you're showing off the other print! Like I said - simple!


The idea actually came about when I was making the bags for the Rainbow Comfort Packs for the bushfire kids. You'll note that it's very similar to the car one that I made then. When I was making that bag, I turned it inside out (as you do a thousand times when making a bag) and the pocket was inside out, but the bag still looked and worked perfectly. That happens all the time, but on most of my bags it doesn't work well. But for that style of bag it is perfect and seemed so logical to make the pocket look good on both sides so you could choose what you wanted it to look like on any given day.


I've been saving the last little piece of the Echino Bird fabric for months and months to make my own bag. There was just enough of it to make two InReverse bags, so this one is for sale and one day soon, I'll make my own! And it will have the cars on the other side too cause that's my second favourite!

Oh and if you love it, you can buy it here.

Saturday, March 21, 2009

Shipshape!

My plan to make one thing a week that is not an order is coming along well at the moment. I've just finished another new bag! And it is another zippered bag! I've been wanting to make one like this for soooo long, but was a bit stuck on the zipper vs lining issue. Everything I could find said that lining had to be hand stitched into this type of bag. My Adorn work may give the impression that I like hand sewing, but that is not strictly true! Slip stitching is NOT my forte! So I turned to Nikki again. I knew she'd have the answer, and she did - in the form of her City Bag pattern.

Now I know my bag looks an awful lot like Nikki's, but I didn't actually use her pattern. I just used the instructions that came with it! The main difference with mine is that it has a completely separate panel for the base because I didn't want the seam to run through the middle of it. So the pattern is mine, and the techniques are very gratefully borrowed.

All in all I'm pretty happy with The Shipshape Bag!


What's up with the name you ask? Well, I usually find that naming the bags is harder than making them... So as usual, I wrote a list of the words I associate with this one, then hit up the thesaurus. One of the words on my list was tidy, and when I looked that up, I got shipshape. It also works with trim, which was another word that should have been on my list.

Ship"shape`\, a. Arranged in a manner befitting a ship; hence, trim; tidy; orderly.


If you like it, it is available to purchase here.

And, thank you Nikki!

Sunday, March 15, 2009

Zippedy...

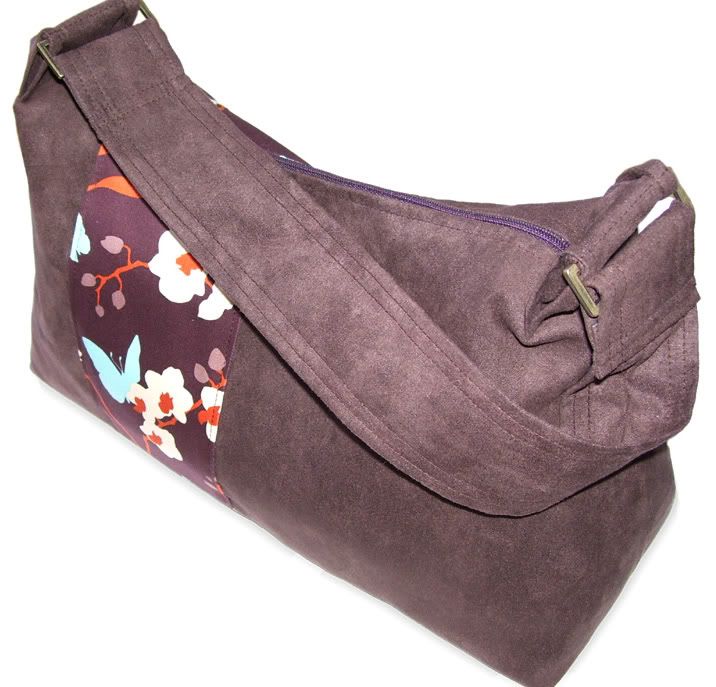
I'm too tired to write much about this, but wanted to post my latest bag on here tonight. It has been quite a challenge to get this one done, and as a result, I nearly named it Plan E! It's the first I've made with a top zipper set in like this and I'm really happy with the outcome. And I LOVE LOVE LOVE the vintage fabric and will be just a little bit sad when it goes off to its new home.

Anyway, enough of my rambling - here is the Spring Zip Bag!


SOLD!

Saturday, December 13, 2008

More Adorn(ed)

I'm really supposed to be working on other things, but I was very patient and had the purse kit for a whole week before making a purse! I've had the embroidery done for days too.

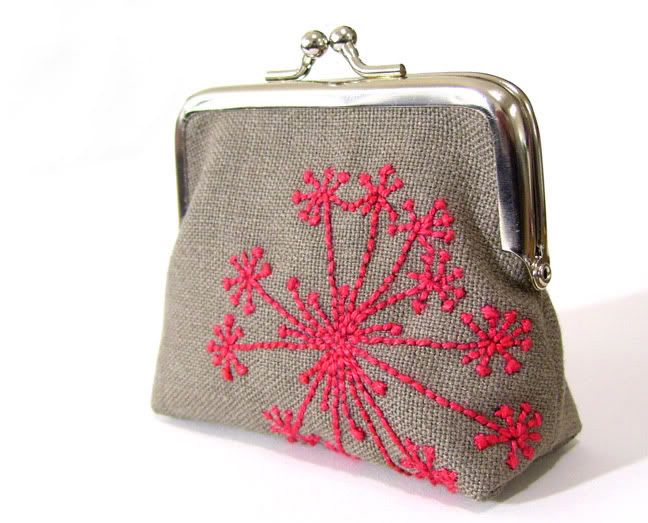
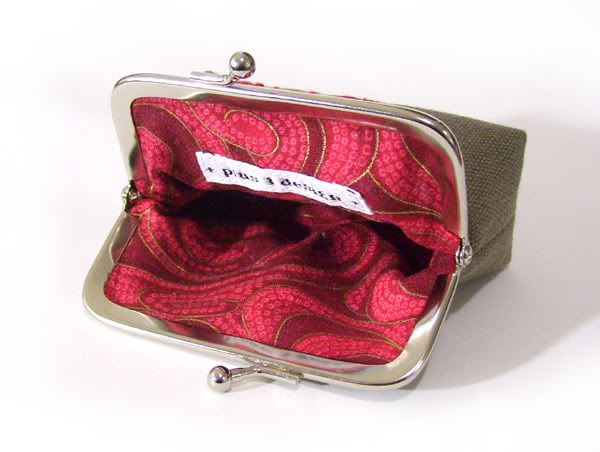
What am I talking about? The cousin of The Adorn Bag is here - The Adorn Purse! The basic purse is made using the brilliant purse kit from Nicole Mallalieu Design. It is such a great kit! I tried making little purses a few months ago and it was one of the most frustrating and infuriating things I've ever done. It was impossible to make it all work properly and look good. But the kit is perfect - simple instructions, great shaped pattern and it was EASY! No mistakes, no fiddling, it just all went together exactly as it should. I'm definitely going to make more of these!


And now I've ALMOST run out of distractions and can get back to the work I'm meant to be doing!

Saturday, December 6, 2008

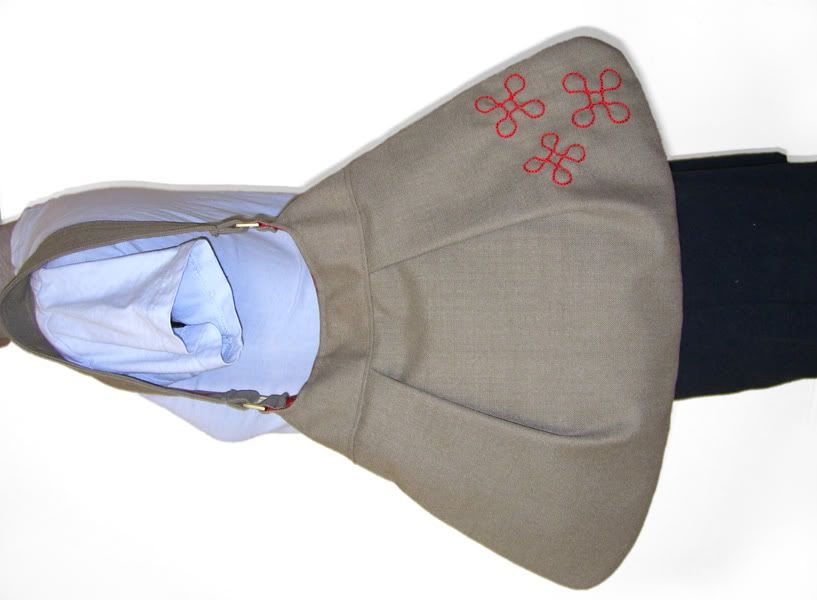
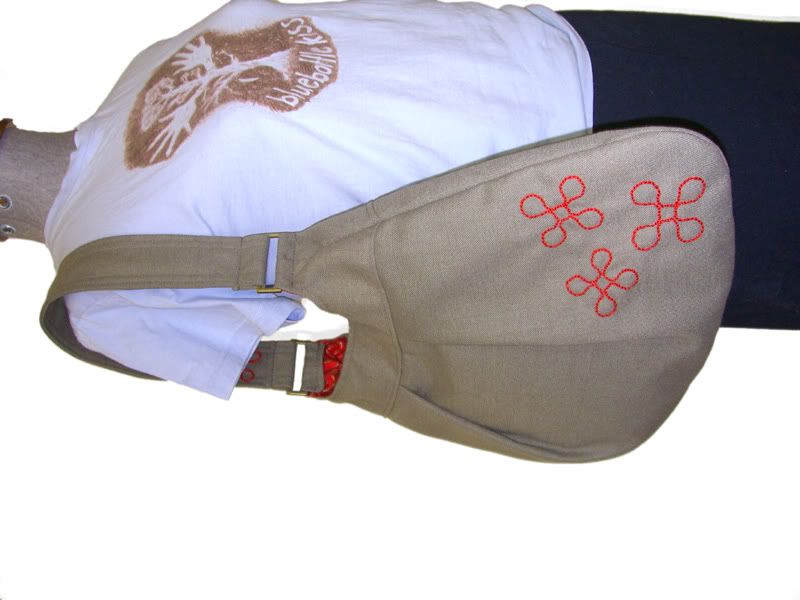
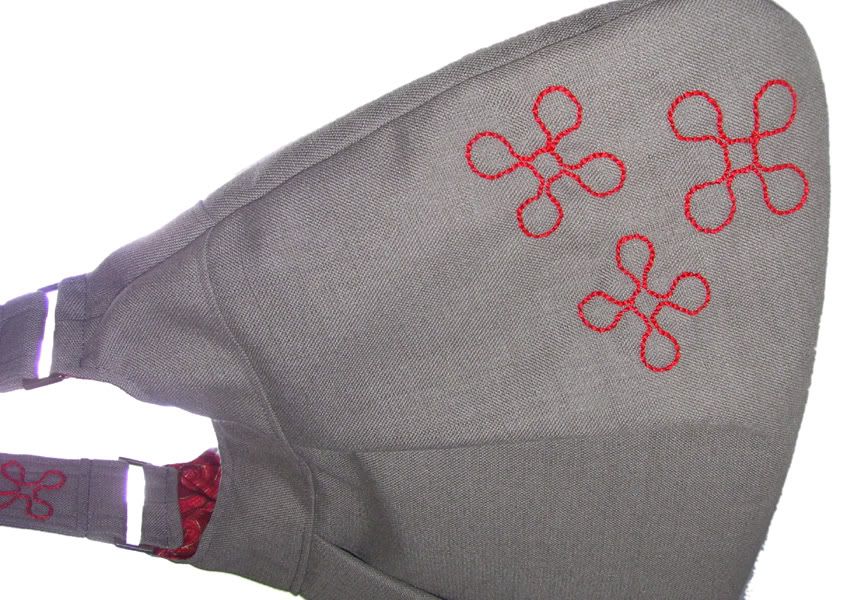
Adorn

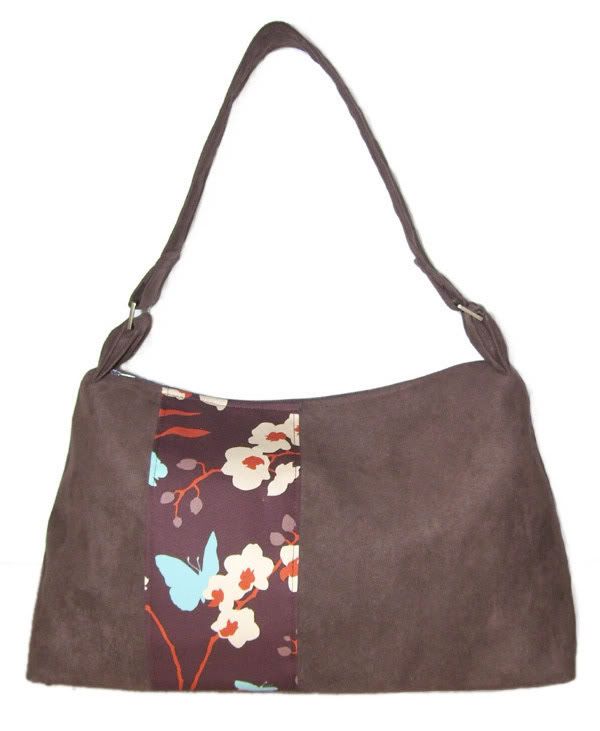
I've been wanting to design a new bag for awhile now. I've also been asked to make some kids hats. So yesterday I bought some red embroidery floss which I thought I'd use to embellish the hats. Then I stopped at the curtain shop and found a remnant of the PERFECT fabric for the new bags. It all kind of came together, and the new bag is finished and I love it! Hopefully someone else will too and it will go to a new home soon.

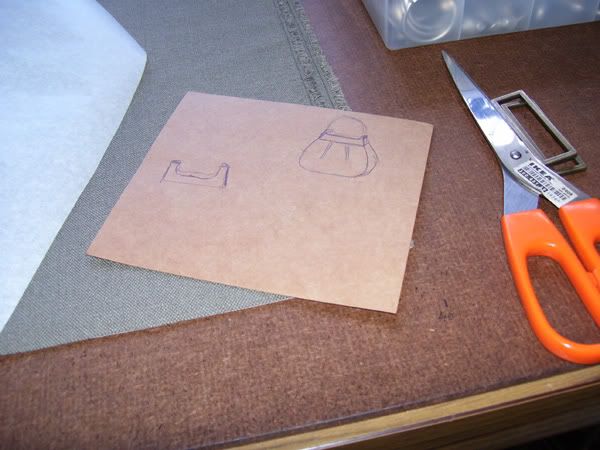
There's been lots of different talk of patterns lately and I thought while I was making the pattern for the new bag that I'd talk about the process a little and include a few pictures.

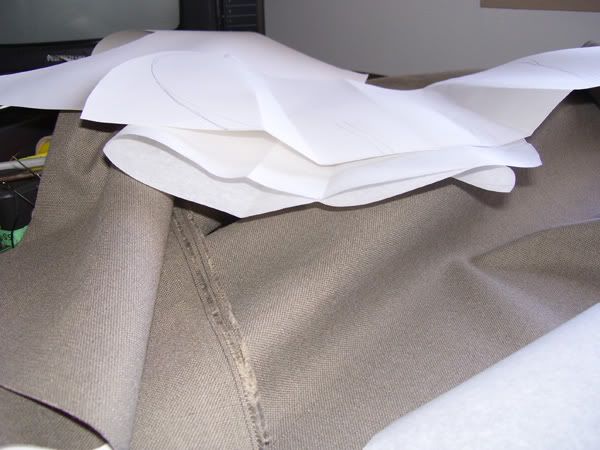
I don't know how other people work, but I start with a very rough sketch of what I want to make.


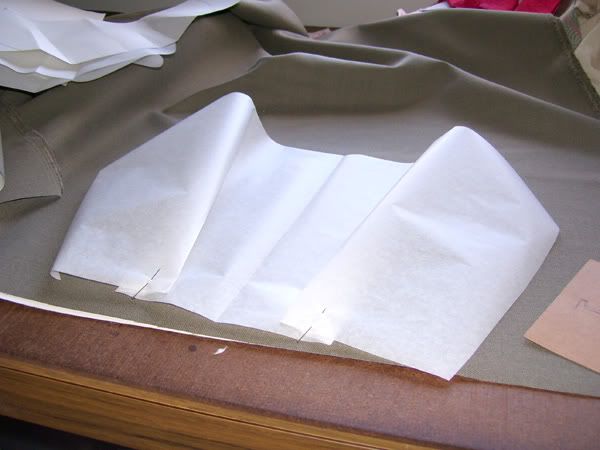
Then I use whatever paper I have that's big enough to start cutting out the pattern pieces. Most often I end up using greaseproof paper stolen from the kitchen because it's easier to manipulate than thicker paper and the see-thoughness is handy. The new bag has pleats, so it took a few goes to get the pattern for the bottom piece right.


But in the end it looked like this:

<

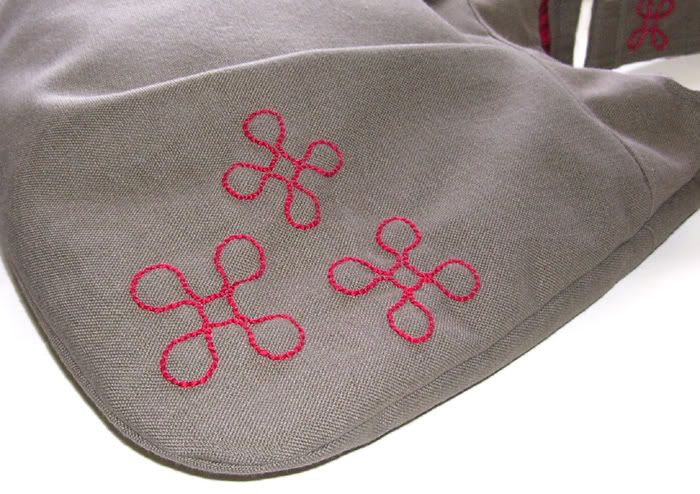
Then I got kind of carried away and forgot to take more pictures of the pattern making/cutting process. What distracted me, was the red embroidery floss that I'd bought for the hats. It seemed like a perfect match for the fabric, so the next few hours were spent embroidering.


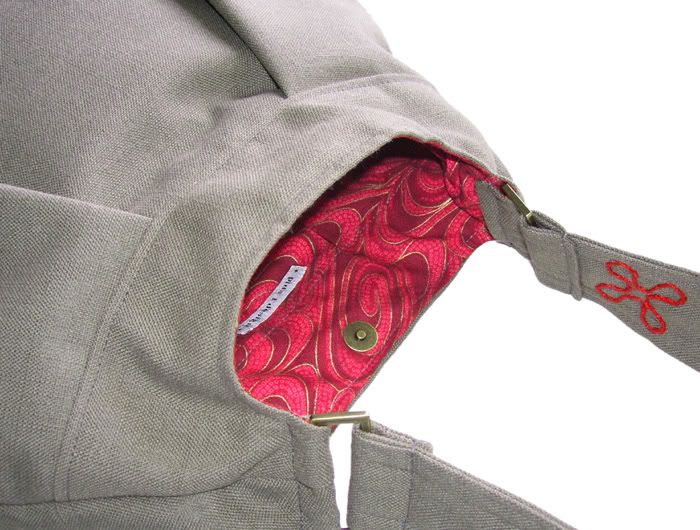
The rest of the bag went together very smoothly and the end result is The Adorn Bag!


If you love it, it can be purchased here.

New work

A few months ago a new friend asked me to make her a wallet but she couldn't decide which fabric she wanted so she left it to me. I couldn't decide either, so I thought that the best thing to do would be take some of the emphasis away from the fabric. My wallets are normally one fancy print on the outside, so they're kinda hard to miss. I thought something a little more subtle might work. It really did and I nearly kept the wallet that I made her. Since then I've meant to make more and introduce them into my shops, but haven't had a chance.

Then last week another friend who is art director at a magazine said they were doing an article on handmade gifts and that he would try to include some of my things in it! Very exciting! So he chose a handbag and asked for a wallet to go in as well. I thought this was a good opportunity to make another of the more subtle wallets. So this is it:

Tuesday, November 11, 2008

A blast from the past

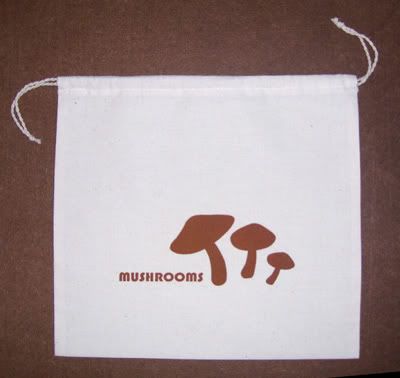
My mum suggested a few weeks ago that I make mushroom bags. At first I didn't know what she was talking about. Then she explained and I knew exactly - we had them when I was a kid, but I've never seen one since!

So what are they? Simple - a drawstring bag made from calico and used to store mushrooms. It's a great idea - they keep the mushrooms fresh, and they can be reused, so they save paper/plastic.

And they're easy to make! And quick to screen print! So now, there are some in my Ozebaby store.


PS: I'm hoping to thank the money gods on Friday - at last!

Sunday, November 2, 2008

Something new!

I've been struggling with the construction for a new bag. I know what I want, but I'm just not sure how to achieve it and it's hard when the supplies aren't nearby to go and look and try things out.

I've also been trying to come up with something smaller and cheaper than normal to put in my stores. Something that can be posted overseas cheaply and something that would make a good, inexpensive gift (especially important with christmas coming up). I wanted to make some of those cute little key fobs I've seen around, but couldn't get the metal parts locally.

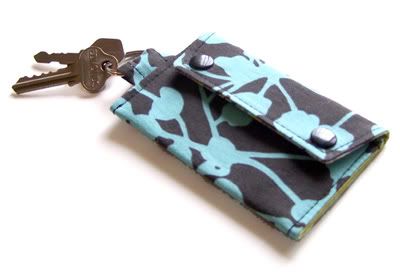
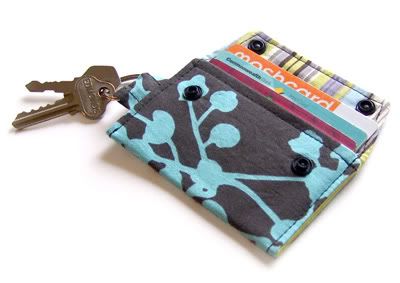
Then yesterday the idea hit for a tiny little purse/key fob combo, and The Travelite Key Fob was born! They're small, easy/cheap to post, inexpensive, not time consuming to make AND a great way to use up fabric scraps. They hold a few cards, or a little cash, or a small tube of lip gloss, as well as your keys (obviously!). And they're small enough to fit in your pocket. Sweet!