Tuesday, October 13, 2009

Shortening nylon zippers - tutorial!

Zips too long? Here's my method for shortening them the neat way.

One of the most common problems I have is not having the right sized/colour zipper for the job. It doesn't seem to matter how many I have, I'm always missing the one I need! Sometimes you can get away with just cutting the end of the zip off. But sometimes, you need the metal stops on the ends, and you need to be able to fold that little bit of zipper tape on the end over to get a neat finish - like on the top of zippered coin pouches etc. So having the right length zip can be crucial.

I need to make some teeny tiny zippered pouches at the moment and don't have the right length zips, so I spent a little time today working out how to shorten them and it's really easy once you know the tricks.

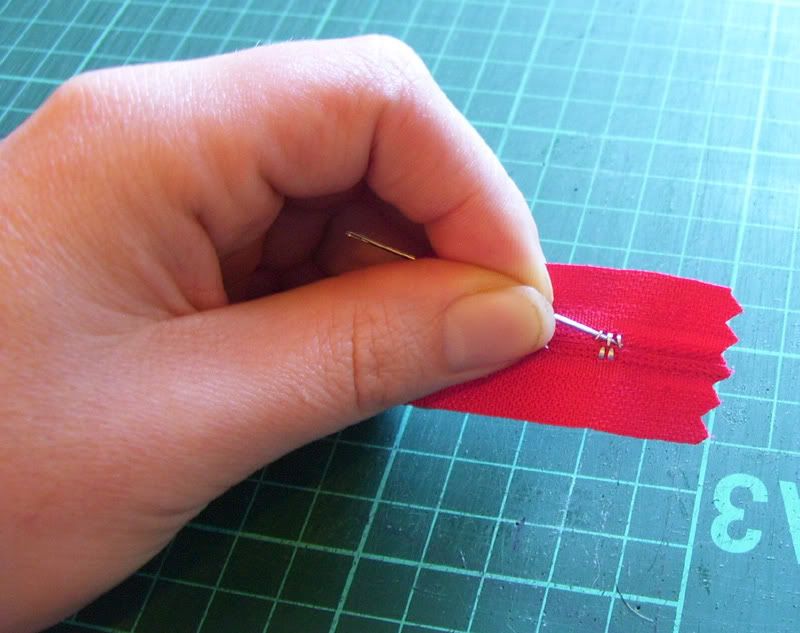
First get a large needle, or something sharp and pointy, and lift up the prongs on the back of the big metal stop at the end of the zip. Once they're up a bit, you can finish straightening them with your needle nosed pliers and then pull it off. Don't lose it!


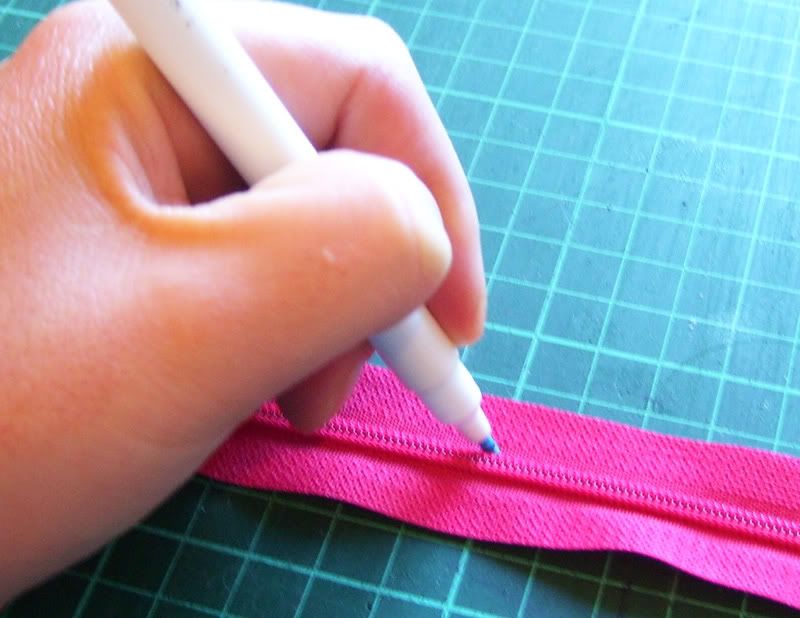
Then just measure and mark your zipper at the required length. For me this time it is 10cm.


Take the metal stop that you just took off, and put it back on where you just made the mark. A gentle tap with a hammer works a treat for flattening the prongs.


Then cut the excess zipper off, leaving about 1.5cm between the stop and where you cut. Treat the end of the zipper tape with some fray stop, or cut with pinking shears or whatever you like to stop it fraying.


Then separate the excess zipper.


What you need to do next is remove the nylon coil. It is threaded through the zipper tape, so it is not just a matter of pulling the end and it unraveling. It won't go further than a few coils this way, and gets really messy.

So take your trusty unpicker and push it through the middle of the first few coils and cut them. Keep doing this until you get to the metal stop.


Then grab your needle nosed pliers or some tweezers and pull the little bits of cut coil out. Repeat on the other side. You may need to snip the end off the very last one on each side to keep it neat and not spikey.


And voila - you're finished! And have a nice neat** zipper end and a zipper just the length you needed!


**This one is not as neat as my first one, but those end bits will be folded over and sewn under fabric so it is ok!

New adventures and other little things

So firstly, the Mountain Makers exhibition was awesome! Lots of sales, met lots of people, had lots of fun! Can't wait to do it again (when we can talk Tess into organising another one). You can see lots of photos of how pretty it was if you go and look at Mandy's flickr set.

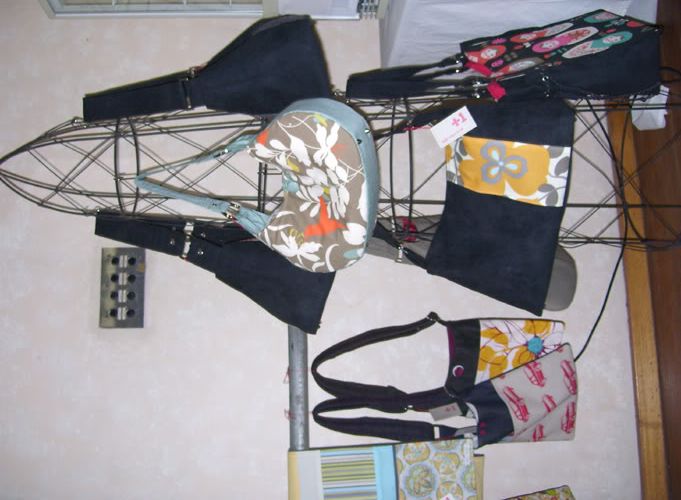
It was so much fun that I decided to do one of the local markets. So my first market all by myself with no hand holding was this past Saturday at the Ivy Market in Springwood. I'm pretty happy with my first one. Lessons learned, things sold, lots of smiling faces. I'm especially happy with my display:

Plus 1 Design @ The Ivy Market (Springwood)

I'm still working out whether I can go back to do the next one, but the chances are pretty high at this stage.

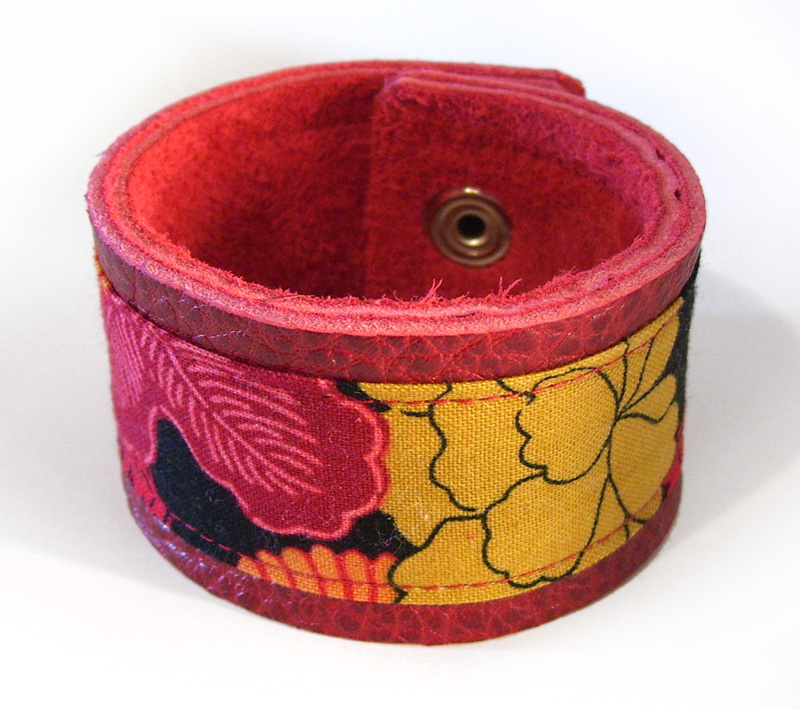
At the market I debuted a new product which I'm really excited about! I've wanted to make wrist cuffs for ages, but it has taken me awhile to settle on a style and design. Finally it is done! Here is a sneak peek:

Wrist cuff

Wrist cuff

I'll be listing them in my Etsy shop in the next few days. Just got to get a chance to finish photographing them... I'm juggling too many things at once at the moment.

Friday, September 25, 2009

Exhausted but very happy

I just not long ago got home from setting up the exhibition. The hall looks amazing! So much beautiful stuff. It was hard to imagine until it was done, but it's fantastic. Here's hoping all the people who said they would come, do!

I meant to take more photos, but didn't manage to remember to do so on account of the very long day it's been. But here are some very average photos of my display (which I am very happy with and have to say a big thank you to Carley for all the help with!).


Thursday, September 24, 2009

Not long now!

This time tomorrow, I'm hoping to be finished setting up my display at the Mountain Makers exhibition! The show opens on Saturday morning and I'm feeling a mix of nerves and excitement. I have almost finished* making things for it... Tomorrow is going to be busy. I have to finish tagging/labeling everything (ummm after I make more tags) and then work out how to display everything. And how to fit it in the car to get it there.

I can't wait to see everyone's stuff all set up. It should be a really fantastic show and hopefully I see some of you there!

*As much as you can ever be finished getting ready for these things!

Tuesday, September 1, 2009

Busy, busy, busy!

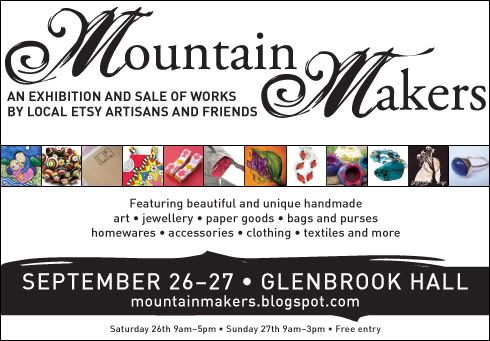
Things are very busy here! Did I mention the exhibition I'm showing my work in? I might have done so briefly. It's time I did so properly! But this image should do the trick!

Tuesday, August 25, 2009

A bee in my bonnet

I'm not going to go into specifics because I don't want to offend anyone, but I do want to write about this anyway because it is really important to me. I hope this comes across the right way!

There's a certain product that hundreds of people make and sell and some of them do very well with, but very few of these products are made 'properly' **. It's a very simple product, but making it 'properly' is actually quite tricky and time consuming. I'm not sure whether the people who make it the 'wrong' way are entirely aware that they are doing it 'wrong'. I try to give them the benefit of the doubt and think that, like me once upon a time, they don't know how to make it the 'right' way. I hope that they're not doing it their way because it's quicker.

I initially thought this was a dilemma for me. I could make it 'properly', but if I wanted to charge for my time to do so, I'd need to charge at least double the average price that my competitors do, which is tricky. So at first I thought that maybe it isn't worth me making them. Or that maybe I could make them the 'wrong' way. No one seems to mind/notice, so why shouldn't I make them quickly and easily?

Tonight I decided why, and I don't know why I didn't think of it sooner.

The reason is that one of the main things that I strive for in my work is to make it as well made as possible. That is not something I want to, or should compromise on. It just isn't worth it.

I still haven't decided whether to make that certain product or not yet. I think I have an alternative that can be as good, if not better in mind.

** Now, the question has been posed - what is 'properly' and who says it is 'properly' made? Well I'm not entirely sure of the answer to that. I think that there are basic techniques that anyone who is trained in sewing should know/learn and use. It's hard to point them out without giving away the product I'm refering to so I won't right now, but I think that is the way that you determine if something is made 'properly'. Or at least that is the method I use at the moment.

DIY hang tags

Y'know those days where you just want to go back to bed by lunch time? Today was (is?) one of those days. There's no reason for it and it's not a big deal, but I was good and decided that instead of going back to bed, I'd do something easy, but productive...

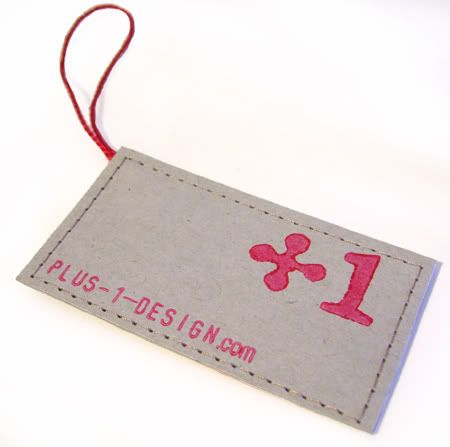
In 1 month, I (and many others) will be exhibiting work at a local show. It's exciting and daunting all at the same time, and I have a very long to do list to get ready. One thing on the list is hang tags for my products. I was going to use my mini moo cards like I normally do, but I'm almost out of those and short on money to buy more. Plus, I really need each tag to have a price and some basic product info on the back, so I figured I should make the tags myself.

I've been working on the idea for a few days. First I decided that they should be stamped or screen printed on the front. Screen printing would work well, but it's more complicated to set up, so I did some research online and learnt that I could make my own stamp (carved from a vinyl eraser)! This would be perfect for a simplified version of my logo. I also finally found another stamp I have with letters spelling out my website address. So the printing bit was sorted. Then I decided that cereal boxes would be the perfect cardboard base that I need - cheap and no need to go find them.

So today's simple, repetitive task was cutting out the cereal boxes, stamping the logo and URL on them, adding a string, gluing a second piece of cardboard to the back, and then stitching around the outside with the sewing machine. They look good and when the time comes I can write on the back and everything will be ready to go!