Friday, December 4, 2009

Hello! I am still alive!

Ahhhhh I've been neglecting this blog terribly lately. I have an excuse, really! I've been busy.

I underestimated how much time it would take to prepare for regular markets. And when I say regular, I've only done three of them and two of them were a month apart. Next weekend is the last one for the year. It has been fun! But yep, like I said, I underestimated how much time it would take to prepare. I've developed some new products for the markets which has been fun. Some of them will make their way into my etsy shop eventually. Not all of them though. The time it takes to photograph and list and the listing fees involved, mean that some really aren't viable products to sell online.

And otherwise I have been busy completing the most complex bag I've ever made! I'm not sure that the photos really illustrate the detail and planning that went into this. My customer had a very specific list of needs and I think and hope that I've covered all of them with this one. It is a variation on the nappy bag concept - two smaller bags that join together to create one large bag. It took 2 months to plan it and a month to sew it together (there were a few stops and starts due to the laptop it was based around dying and needing to be changed to an entirely different one).
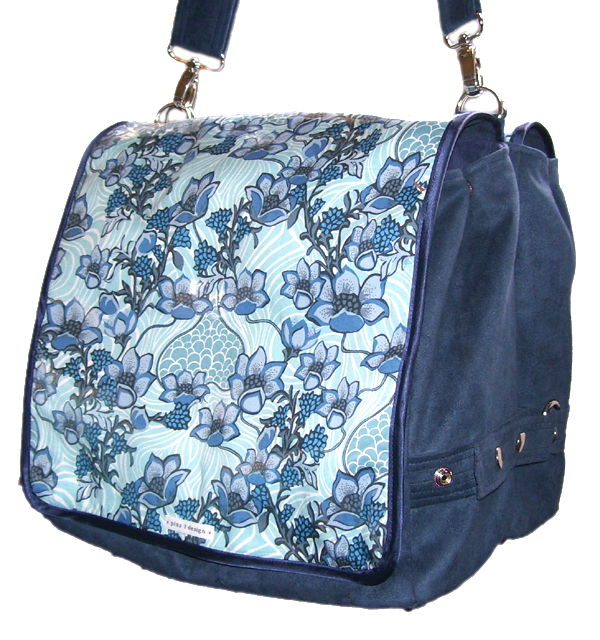
Custom uni/laptop bag

I learned new skills and pretty much had to pull out every trick in the book to get this one done! There are magnetic snaps, zippers, d-rings, purse feet, rivets, bias binding, PVC overlays, pockets with gussets, 3D pockets with dividers, a shoulder pad on the strap and a grand total of 18 press studs. Oh wait, 19 press studs if you count the one on the laptop sleeve too!
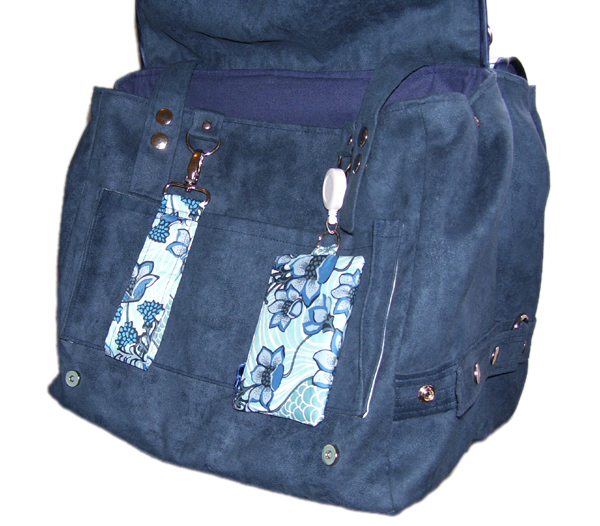
Custom uni/laptop bag

Oh and did I mention that the print is from Liberty of London? Talk about nerve wracking!

Tuesday, November 3, 2009

I'm a guest curator!

This is so exciting for me! I'm a guest curator at Etsy Stalker! The lovely ladies asked me a few weeks ago if I would like to curate a Spring Bags and Purses Exhibit and I jumped at the chance. It was a really interesting challenge. I had some very specific criteria in my head, so that helped narrow the list down, but it was still difficult to choose from all the beautiful work on Etsy.

I hope you go and visit the exhibit and enjoy my choices!

If I had to put one of my pieces in there, I don't think I could go past this one.

Tuesday, October 13, 2009

Shortening nylon zippers - tutorial!

Zips too long? Here's my method for shortening them the neat way.

One of the most common problems I have is not having the right sized/colour zipper for the job. It doesn't seem to matter how many I have, I'm always missing the one I need! Sometimes you can get away with just cutting the end of the zip off. But sometimes, you need the metal stops on the ends, and you need to be able to fold that little bit of zipper tape on the end over to get a neat finish - like on the top of zippered coin pouches etc. So having the right length zip can be crucial.

I need to make some teeny tiny zippered pouches at the moment and don't have the right length zips, so I spent a little time today working out how to shorten them and it's really easy once you know the tricks.

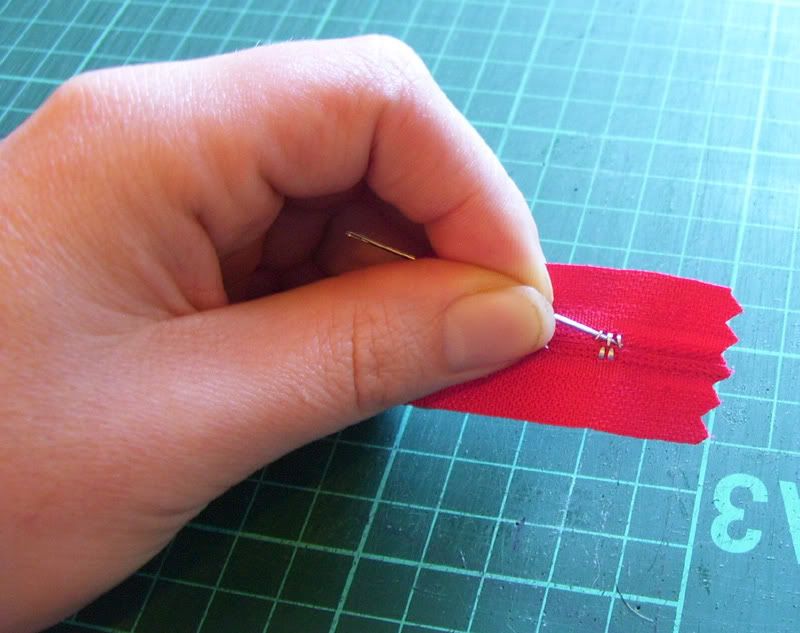
First get a large needle, or something sharp and pointy, and lift up the prongs on the back of the big metal stop at the end of the zip. Once they're up a bit, you can finish straightening them with your needle nosed pliers and then pull it off. Don't lose it!


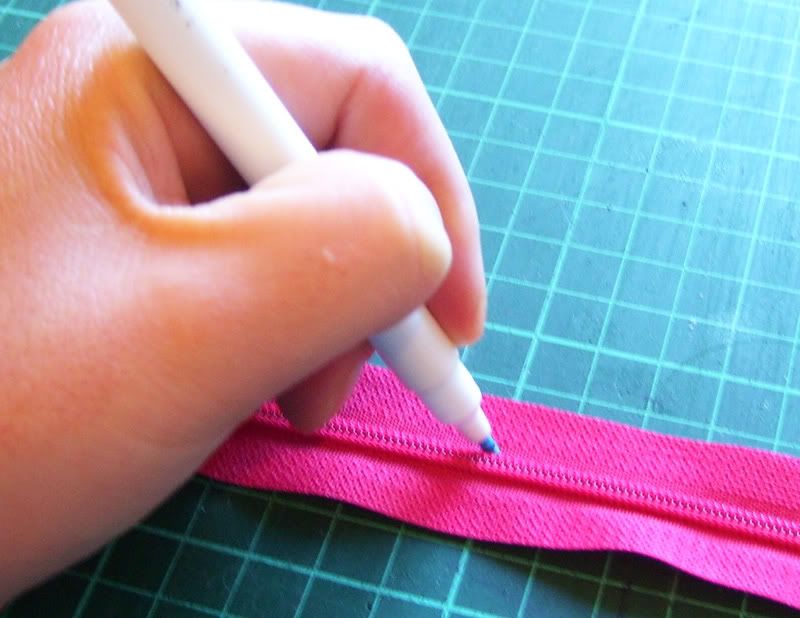
Then just measure and mark your zipper at the required length. For me this time it is 10cm.


Take the metal stop that you just took off, and put it back on where you just made the mark. A gentle tap with a hammer works a treat for flattening the prongs.


Then cut the excess zipper off, leaving about 1.5cm between the stop and where you cut. Treat the end of the zipper tape with some fray stop, or cut with pinking shears or whatever you like to stop it fraying.


Then separate the excess zipper.


What you need to do next is remove the nylon coil. It is threaded through the zipper tape, so it is not just a matter of pulling the end and it unraveling. It won't go further than a few coils this way, and gets really messy.

So take your trusty unpicker and push it through the middle of the first few coils and cut them. Keep doing this until you get to the metal stop.


Then grab your needle nosed pliers or some tweezers and pull the little bits of cut coil out. Repeat on the other side. You may need to snip the end off the very last one on each side to keep it neat and not spikey.


And voila - you're finished! And have a nice neat** zipper end and a zipper just the length you needed!


**This one is not as neat as my first one, but those end bits will be folded over and sewn under fabric so it is ok!

New adventures and other little things

So firstly, the Mountain Makers exhibition was awesome! Lots of sales, met lots of people, had lots of fun! Can't wait to do it again (when we can talk Tess into organising another one). You can see lots of photos of how pretty it was if you go and look at Mandy's flickr set.

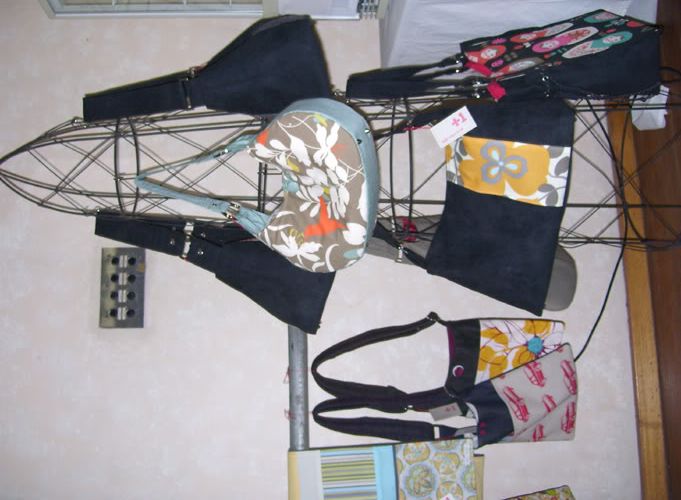
It was so much fun that I decided to do one of the local markets. So my first market all by myself with no hand holding was this past Saturday at the Ivy Market in Springwood. I'm pretty happy with my first one. Lessons learned, things sold, lots of smiling faces. I'm especially happy with my display:

Plus 1 Design @ The Ivy Market (Springwood)

I'm still working out whether I can go back to do the next one, but the chances are pretty high at this stage.

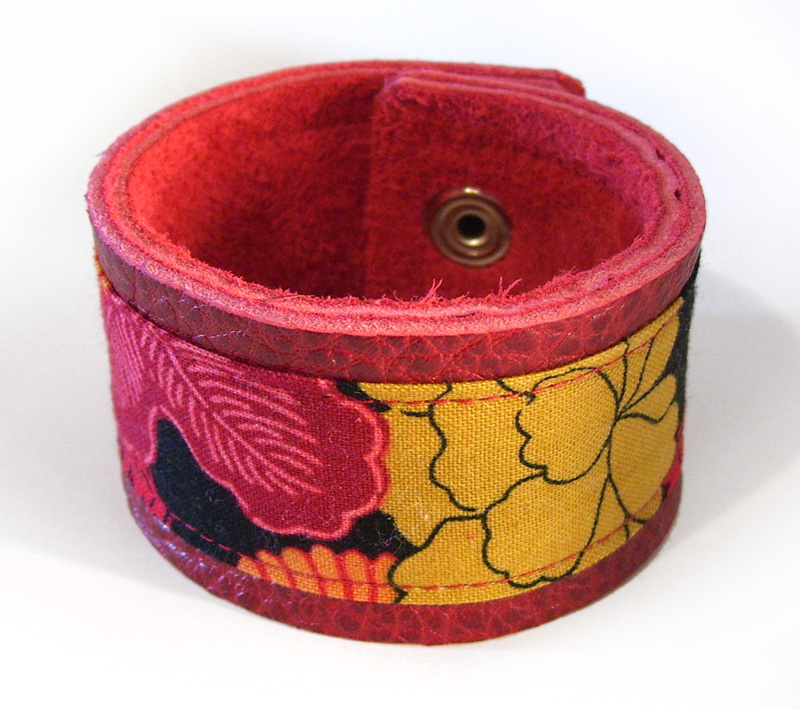
At the market I debuted a new product which I'm really excited about! I've wanted to make wrist cuffs for ages, but it has taken me awhile to settle on a style and design. Finally it is done! Here is a sneak peek:

Wrist cuff

Wrist cuff

I'll be listing them in my Etsy shop in the next few days. Just got to get a chance to finish photographing them... I'm juggling too many things at once at the moment.

Friday, September 25, 2009

Exhausted but very happy

I just not long ago got home from setting up the exhibition. The hall looks amazing! So much beautiful stuff. It was hard to imagine until it was done, but it's fantastic. Here's hoping all the people who said they would come, do!

I meant to take more photos, but didn't manage to remember to do so on account of the very long day it's been. But here are some very average photos of my display (which I am very happy with and have to say a big thank you to Carley for all the help with!).


Thursday, September 24, 2009

Not long now!

This time tomorrow, I'm hoping to be finished setting up my display at the Mountain Makers exhibition! The show opens on Saturday morning and I'm feeling a mix of nerves and excitement. I have almost finished* making things for it... Tomorrow is going to be busy. I have to finish tagging/labeling everything (ummm after I make more tags) and then work out how to display everything. And how to fit it in the car to get it there.

I can't wait to see everyone's stuff all set up. It should be a really fantastic show and hopefully I see some of you there!

*As much as you can ever be finished getting ready for these things!

Tuesday, September 1, 2009

Busy, busy, busy!

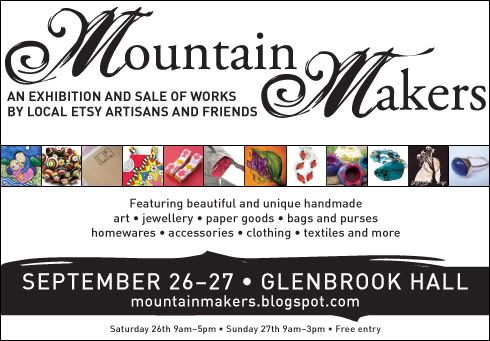
Things are very busy here! Did I mention the exhibition I'm showing my work in? I might have done so briefly. It's time I did so properly! But this image should do the trick!