There's been lots of different talk of patterns lately and I thought while I was making the pattern for the new bag that I'd talk about the process a little and include a few pictures.
I don't know how other people work, but I start with a very rough sketch of what I want to make.
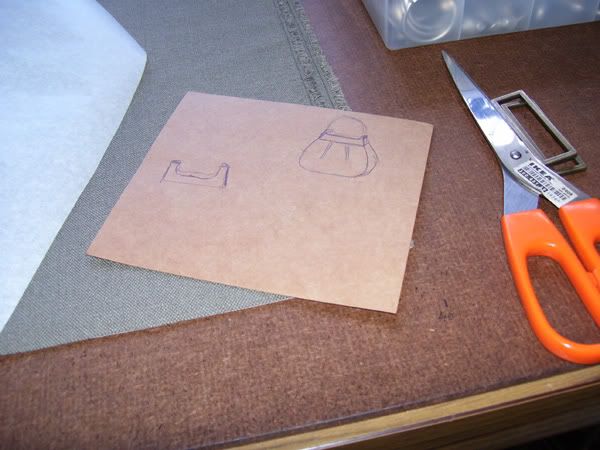
Then I use whatever paper I have that's big enough to start cutting out the pattern pieces. Most often I end up using greaseproof paper stolen from the kitchen because it's easier to manipulate than thicker paper and the see-thoughness is handy. The new bag has pleats, so it took a few goes to get the pattern for the bottom piece right.
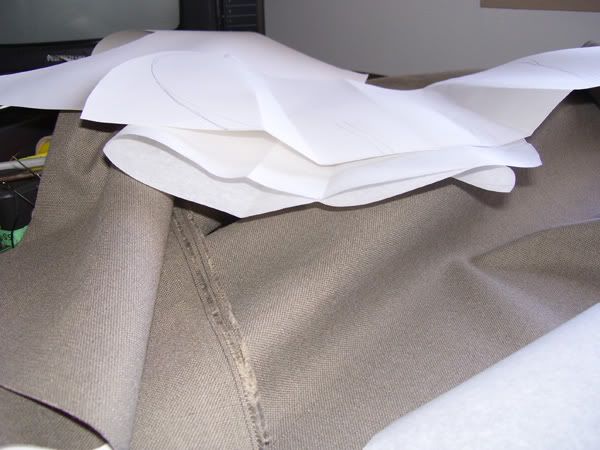
But in the end it looked like this:
<
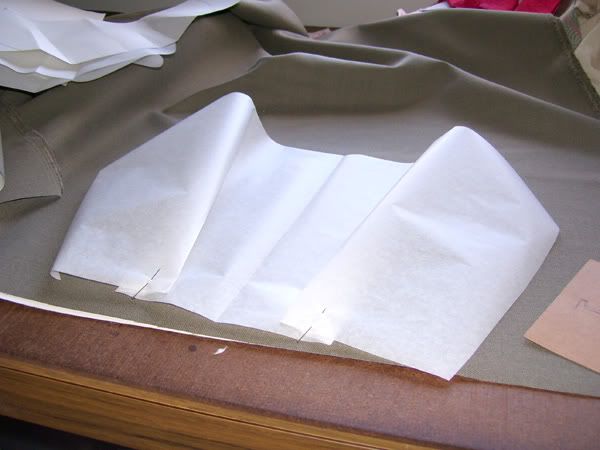
Then I got kind of carried away and forgot to take more pictures of the pattern making/cutting process. What distracted me, was the red embroidery floss that I'd bought for the hats. It seemed like a perfect match for the fabric, so the next few hours were spent embroidering.
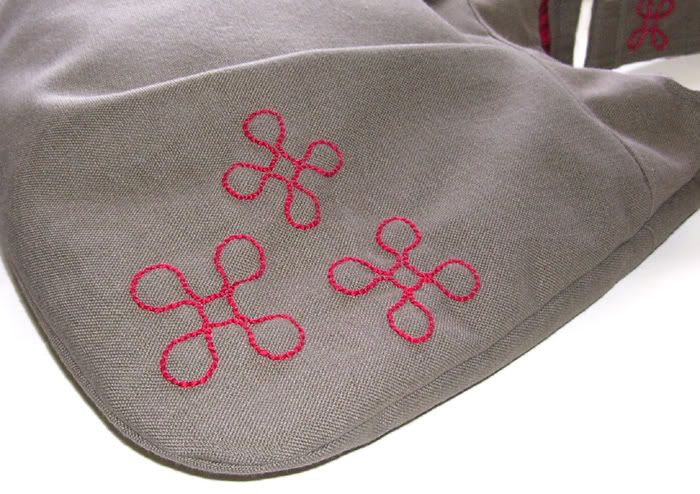
The rest of the bag went together very smoothly and the end result is The Adorn Bag!
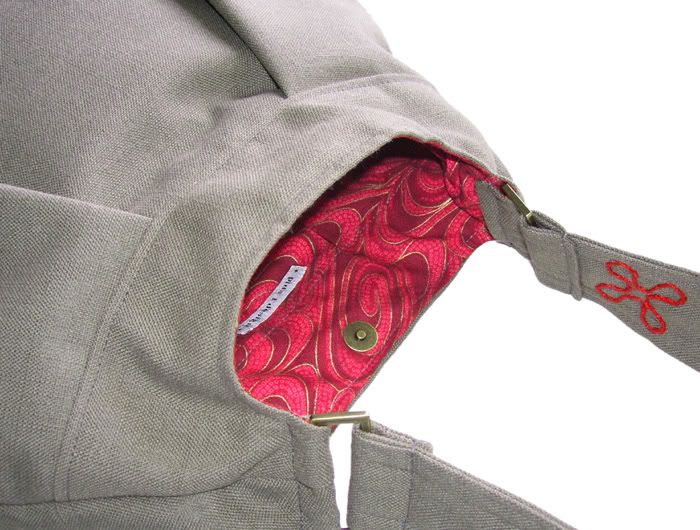
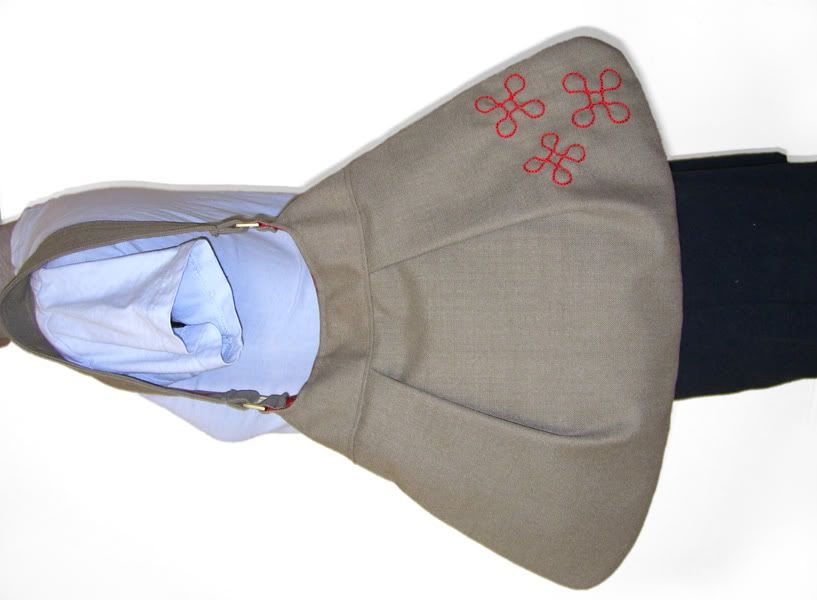
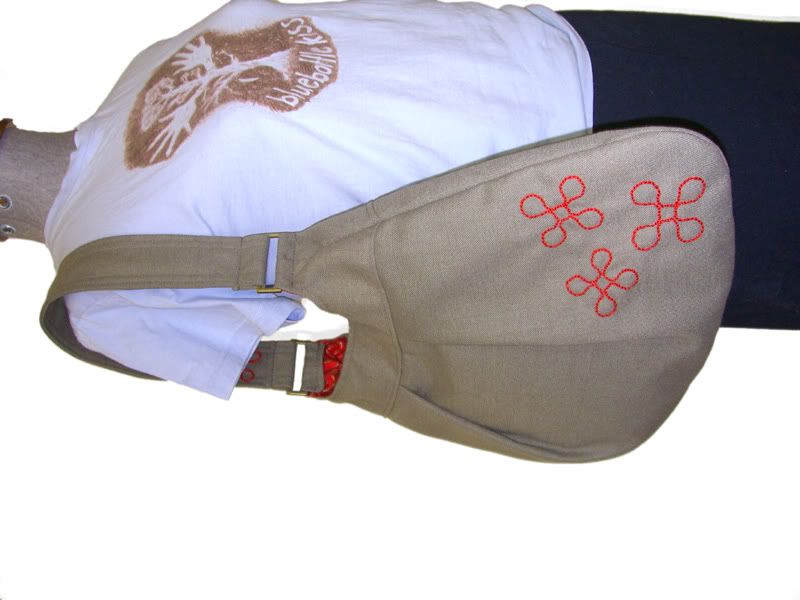
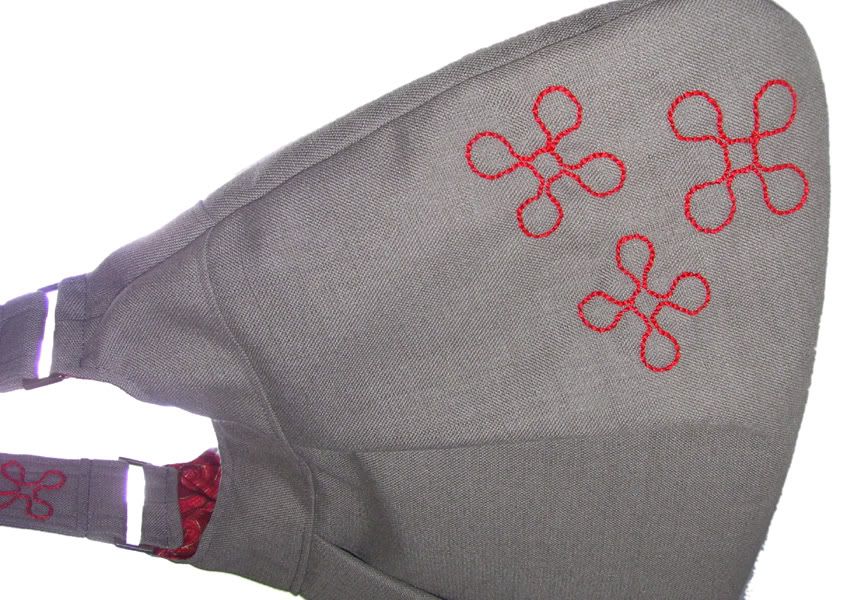
If you love it, it can be purchased here.


1 comment:
This bag looks great, Kirrily! I love the embroidered details, too.
Your thumnail sketches look like mine - as do your piles of folded paper pattern trials....
Post a Comment